Getting Started
The chat widget helps your clients interact with your company, as it provides sending and receiving messages. Messages are sent using the WebSocket protocol.
In this article, we will cover instructions for setting up and enabling the chat on your website.
Follow the algorithm below:
1. From your account manager, obtain details for connecting the library for the following parameters:
webchat/package webchat/uid webchat/websocket webchat/datastore webchat/backend/rootUrl webchat/backend/history
2. Download the current version of the widget to configure the web chat.
Important: the widget version cannot be more recent than the version of the app backend
3. Place the widget file threadswidget-6.40.0.min.js in the root or any directory of your site.
4. Download the sample configuration file settings.json
Place the settings.json file in the same directory where the web chat is located.
You configure all widget settings in this file. You will need to specify the path to it later when initializing the widget (step 9).
5. In the settings.json file, configure the parameters the data on which you received from your account manager in step 1.
6. Customize the color scheme that matches your website.
Go to the skin section. In the sample file, the parameters define the colors of the following elements:
| Field | Description | Default value |
|---|---|---|
name | Name of the appearance theme. The following ones are available: mfms, threadsim, halcyon, adaptive | "threadsim" |
width | Widget width | "366px" |
height | Widget height | "420px" |
colorMain | Main base color | "#008aff" |
colorSecond | Additional base color | "#05b8ff" |
colorLines | Color of lines and agent messages | "#dee4e9" |
colorSubText | Additional text color | "#6e6e6e" |
colorText | Text color | "#000000" |
colorBackground | Widget background color | "#ffffff" |
 | colorMain colorSecond colorLines colorSubText colorText colorBackground |
7. Configure WebPush notifications.
Create a Firebase project for push notifications.
How to register in Firebase
-
Create a new project
-
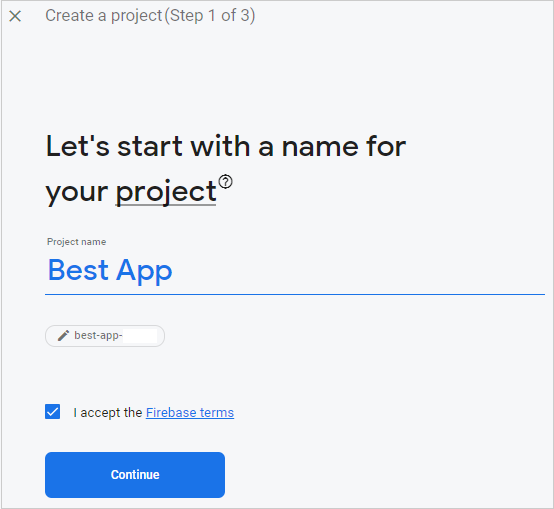
Enter the project name and select a domain
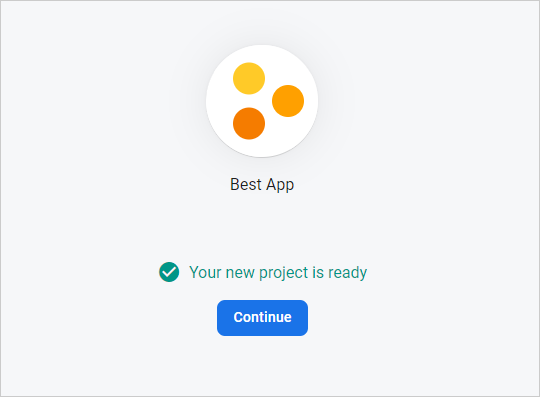
The project is created. Click Continue.
-
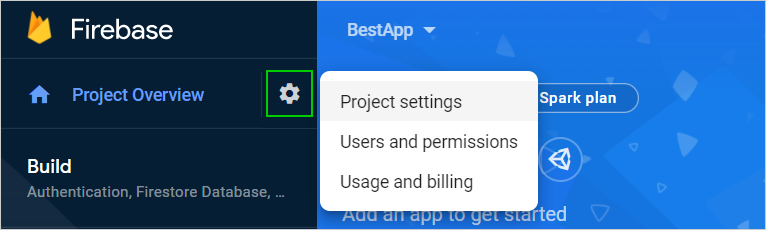
On the project page, click the Settings button in the Project Overview section and select Project settings.
-
On the General tab, scroll down to the Your apps section and click the web app icon.

-
Enter the app's nickname and click Register App.
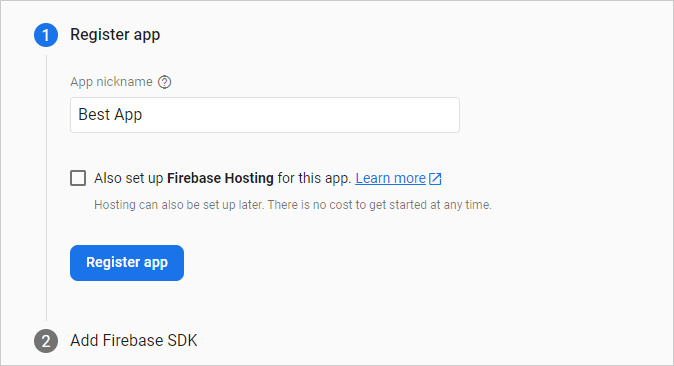
-
Obtain the generated service worker script and click Continue to the console.
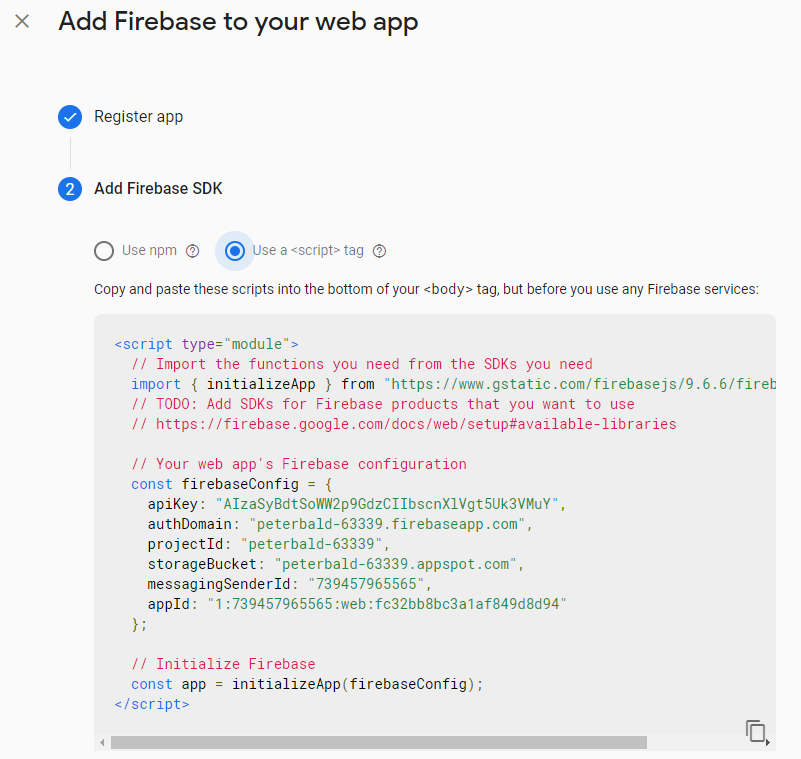
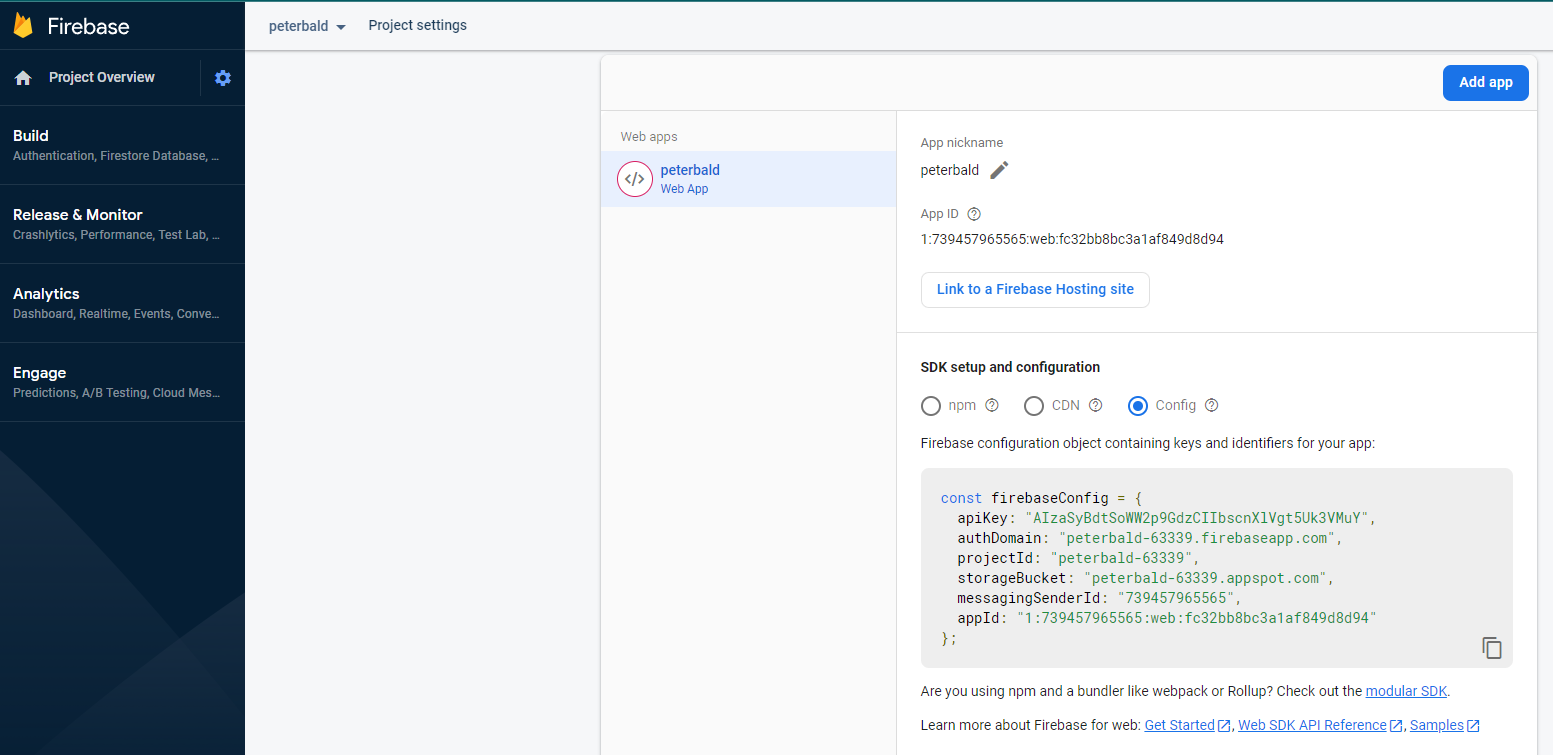
The app's service worker config will remain available on the General tab of the Project settings page. You will need the parameters of this config in the further steps of the widget configuration.
- Go to the Cloud Messaging tab and obtain the
api_keyandsenderIDvalues.
-
Download firebase-messaging-sw.js.
-
Configure the file. In
config, specify the parameters of service worker for the widget:
var config = {
  enable: false,
  firebaseConfig: {
    apiKey: 'FIX_ME',
    authDomain: 'FIX_ME',
    projectId: 'FIX_ME',
    storageBucket: 'FIX_ME',
    messagingSenderId: 'FIX_ME',
    appId: 'FIX_ME',
  },
  title: 'edna Chat',
  icon: 'data:image/png;base64,iVBORw0KGgoAAAANSUhEUgAAADIAAAAyCAMAAAAp4XiDAAAABGdBTUEAALGPC/xhBQAAAAFzUkdCAK7OHOkAAABOUExURUxpcejo6Onp6enp6eTk5Onp6erq6uvr6+np6eXl5enp6ejo6Ovr6+zs7Ojo6Onp6ePj4+rq6pmZmdPT06enp+bm5p6entra2sLCwrm5ueNweO8AAAARdFJOUwBOiKUcunn78A3dnllqk8XwLooT9gAAAWVJREFUSMedllmShSAMRXHggYq+YhLd/0bbtluLJODA/SR1yiQmFxgj6tTEeymE7PmkOnarduRCRxJ8bK+BQSc05KGuljopWWfyqzLADlUp4qMv9aFJNfpGDUqu++pbfSHT6AdqXtSRqKeiUR+Cp6dn3zrcXW+d2eQs6fVRTo0CYQd2KKBQ/T8l6CNhNqdmxMi/2UFz5SNiY1BFw/4R9O3VAK0o/PuZEZ3NEJlReNwQjvIySCgzvnVYvENEx5R+h2jFprfIhEu5Rzjr3yI9I9t702QtmcBHDiIOxwVFFogsFCGJBYgEmlivLzMjeW3lc3JmY4Rs2dbkia7rmp/j/VcquvYxQg1A0bFc4IotdCxhMQhIQBytmHUmIeA0I1jkkASQ07SxXQRzoRDbxWlK9gqxwJQO63uC1NBgvcsTzkODPWzc26w8svGSy6LkSiq5+Aqu15JLvOipUPIgKXn2FD2uHj3hfgChdIQNPQdYDAAAAABJRU5ErkJggg==',
};
where:
enable- The parameter that enables/disables the functionality (possibles values aretrueandfalse)firebaseConfig- Firebase platform connection parameters, service worker configurationtitle- Header the client will see in the push messageicon- Push notification icon in the base64 format
-
Similarly, configure the
pushNotificationsection in thesettings.jsonconfiguration file. -
Share the
sender_id(Sender ID) andapi_key(Server Key) values from the Cloud Messaging tab of your Firebase project with your account manager. -
Place the
firebase-messaging-sw.jsfile in the root of the website. This script must be available here:http(s)://****/firebase-messaging-sw.js(where****is the domain that is being configured).
8. Download the web-notification-sw.js file.
Place the web-notification-sw.js file in the root of the website. This script must be available here: http(s)://****/web-notification-sw.js (where **** is the domain that is being configured).
This is required for the browser web notifications about new messages in the widget to operate properly.
9. Embed the widget on your website.
- Enable the widget:
To place the chat widget on the page where it will be displayed, add the following initialization code before the closing
</body>tag:
<!-- BEGIN CHAT {literal} -->
<script type="text/javascript">
!function(e,a){"use strict";e=e||"/settings.json";window.ThreadsWidget=new Proxy({},{get(e,a){return"isProxy"===a||((...t)=>{const n=setInterval(()=>{const e=window.ThreadsWidget;e&&!e.isProxy&&(clearInterval(n),"function"==typeof e[a]&&e[a](...t))},100)})}});const t=function(){const o=new XMLHttpRequest;return function(e,t,n,a){o.onreadystatechange=function(){if(4===o.readyState)if(200===this.status)n(o.response);else{if("function"!=typeof a)throw new Error(o.response);a(o)}},o.open(e,t),o.send()}}();function n(t){t.webchat&&(t.webchat.filename=t.filename),a&&"string"==typeof a&&(t.webchat.currentLocale=a),a&&"object"==typeof a&&(a.locale&&"string"==typeof a.locale&&(t.webchat.currentLocale=a.locale),a.unavailable&&"boolean"==typeof a.unavailable&&(t.webchat.isUnavailableOnStart=a.unavailable));try{sessionStorage.setItem("__threadsWidget",JSON.stringify(t.webchat))}catch(e){window.__threadsWidget=JSON.stringify(t.webchat)}if(t.filename){const e=document.createElement("script"),n=(e.type="text/javascript",e.async=!0,e.src=t.filename,document.getElementsByTagName("script")[0]);n?n.parentNode.insertBefore(e,n):document.body.appendChild(e)}else console.error("Invalid bundle")}function o(){t("GET",e+"?rnd="+Math.random(),function(e){const t=JSON.parse(e);n(t)})}"complete"===document.readyState?o():window.addEventListener("DOMContentLoaded",o,!1)}("settings.json",{});
</script>
<!-- {/literal} END CHAT -->
- Connect the configuration file by specifying the path to
settings.jsonat the very end of the initialization script:
...}("settings.json");
-
Make sure to set the absolute path to the settings file from the root of your site as the value of this parameter. For example,
("/your/path/to/settings.json") -
Save the changes and publish them on your website
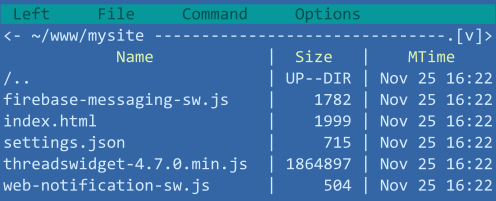
The following is an example of the file directory:
10. Open the page on your website.
11. If everything is configured correctly, a button to open the chat will appear in the lower right corner of the browser window. When you click it, the chat start window loads.
Once the widget is embedded, make sure that all settings have been made correctly by conducting a few simple, basic tests:
- Sign in the agent WP and switch to the Active status (your account manager will share the agent credentials with you).
- Send a message from the chat widget. In the agent WP, you will see the message as one of the threads in the queue.
- Respond to the message in the agent WP. You will see the response in the chat widget.
- Try to send several messages this way (for example, messages with attachments). Make sure that once the message is read by the recipient, two checkmarks indicating that the message was read are displayed next to the message in the sender's chat. This indicates that the read statuses work properly.
If there are issues with sending and/or receiving messages, please make sure it configured correctly.
If you have any questions about the details of the setup process, you can always contact our implementation engineers at support@edna.io or contact your account manager.